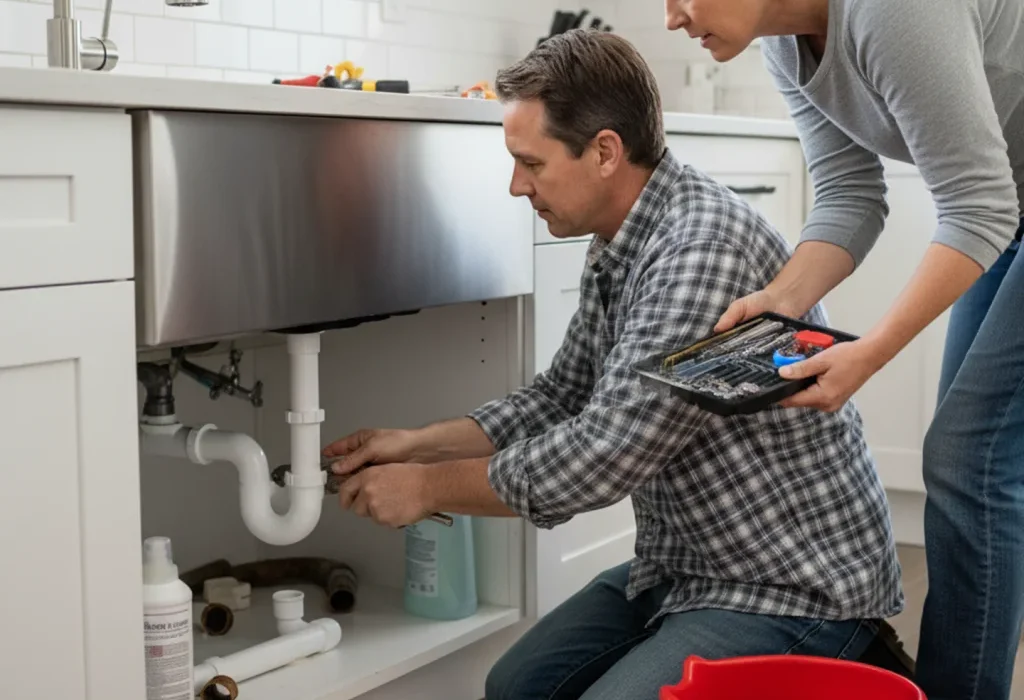
Replacing drain pipes under kitchen sink might seem like a small job until you’re lying on your back, flashlight in hand, water dripping down your arm. In most U.S. homes, the under-sink drain assembly is a tangle of PVC or metal pipes that connect the sink’s tailpiece to the P-trap and finally into the wall drain.
If you’ve got leaks, corrosion, or slow drainage, it’s time for replacing drain pipes under kitchen sink and restore smooth water flow.
This guide explains everything you need to know about tools, parts, step-by-step replacement, mistakes to avoid, and when to call a pro.
Understanding What’s Under Your Sink
Before you start replacing drain pipes under kitchen sink, it helps to know what each part does.
Main Components:
-
- Sink strainer: The metal or plastic drain fitting at the bottom of your sink bowl.
-
- Tailpiece: The straight pipe that connects the strainer to the trap.
-
- P-trap: The curved section that holds water to block sewer gases.
-
- Trap arm: The horizontal pipe running into the wall.
-
- Slip nuts and washers: The compression fittings that join sections together.

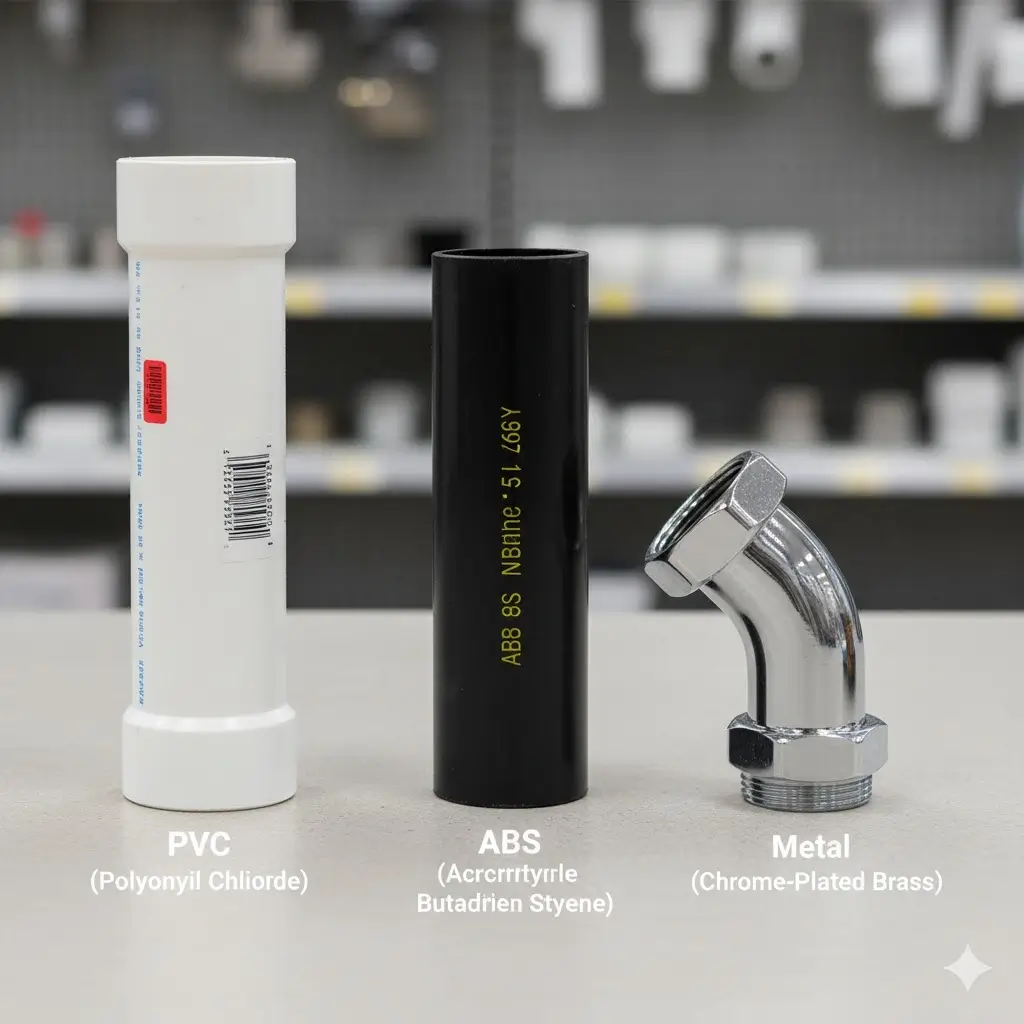
Identify Your Pipe Type
When replacing drain pipes under kitchen sink, identifying your material is key.
-
- PVC (white plastic): Most common and easiest to replace.
-
- ABS (black plastic): Durable but less flexible.
-
- Chrome or brass: Found in older homes — may need a hacksaw to remove.
For more plumbing pipe guides, read here.
Tip:
PVC to metal connections require a rubber transition coupling (often called a Fernco fitting).
Tools & Materials You’ll Need
Before replacing drain pipes under kitchen sink, make sure you have:
Tools:
-
- Adjustable wrench or slip-joint pliers
-
- Bucket and an old towel
-
- Utility knife or PVC cutter
-
- Plumber’s tape (Teflon tape)
-
- Flashlight
Materials:
-
- Replacement pipes (PVC or metal)
-
- New slip nuts and washers
-
- Pipe joint compound or silicone grease
Step-by-Step: Replacing Drain Pipes Under Kitchen Sink
1. Turn Off the Water and Clear the Area
Remove everything under the sink. Place a bucket below the trap to catch water before replacing the drain pipes under the kitchen sink.
2. Loosen the Old Connections
Use pliers to loosen slip nuts on the trap and tailpiece. If stuck, wrap a rag for grip.
3. Remove the P-Trap and Tailpiece
Carefully pull them apart. Watch for residual water in the trap.
4. Clean the Pipe Ends
Wipe old plumber’s tape or debris from threads. Ensure smooth, clean surfaces.
5. Dry-Fit the New Pipes
Assemble everything without tightening to check alignment.
Each section should slope slightly (¼ inch per foot) toward the wall drain.
6. Apply Washers and Tighten
Place slip washers correctly, tapered end faces the pipe. Hand-tighten first, then snug gently with pliers.
7. Test for Leaks
Run warm water for 2–3 minutes. Wipe connections with a dry towel and check for drips.
8. Recheck After 24 Hours
Pipes can shift slightly after use, so recheck for moisture under the sink.
Common Problems (and How to Fix Them)
| Problem | Cause | Solution |
| Leak at the joint | Washer backwards or missing | Reinstall with the washer tapered side facing the pipe |
| Water backing up | Poor slope or blockage | Refit with the correct angle; clear debris |
| The trap is not holding water | Improper alignment | Ensure the trap seal is below the sink outlet |
| Smell from the drain | Missing trap seal | Check that the trap always contains water |
Checklist
Before You Start
-
- Identify pipe material (PVC, ABS, metal)
-
- Gather all tools and new parts
-
- Place bucket under sink
During Replacement
-
- Dry-fit everything before tightening
-
- Keep slope toward the wall drain
-
- Check washer orientation
After Finishing
-
- Inspect again after 24 hours
-
- Run water 2–3 minutes
-
- Check for leaks
When to Call a Professional
-
- The wall drain or trap arm is rusted or corroded.
-
- The sink has dual basins with a shared trap; alignment can get tricky.
-
- You smell sewer gas even after replacing drain pipes under kitchen sink.
-
- You’re replacing the drain pipe with the garbage disposal or dishwasher line , too.
FAQ: Replacing Drain Pipes Under Kitchen Sink
1. How long does it take when replacing drain pipes under kitchen sink?
For a standard single-basin sink, most DIYers finish in 1–2 hours. Add 30 minutes for dual sinks.
2. Do I need plumber’s putty or Teflon tape?
Use Teflon tape for threaded metal fittings and silicone grease on plastic washers, not putty.
3. Can I mix PVC and metal pipes?
Yes, but use a rubber transition coupling or threaded adapter designed for that purpose.
4. Why does my new P-trap leak?
Usually, the washer is reversed or overtightened. Hand-tighten first, then a gentle ¼ turn with pliers.
5. Should both sink bowls share one trap?
Yes, if connected correctly with a T-fitting before the trap. Two traps on one drain line can cause siphoning.
6. Is it okay if the drain pipes don’t line up perfectly?
Small offsets are fine; use adjustable trap kits. If alignment is way off, cut and resize the pipes.
7. What size is the standard kitchen sink drain pipe in the U.S.?
Typically, 1½-inch PVC for kitchen sinks and 1¼-inch for bathroom sinks.
8. Do I need a vent pipe under the sink?
Yes. Every P-trap must be vented — either through the home’s main vent or an AAV (Air Admittance Valve).