
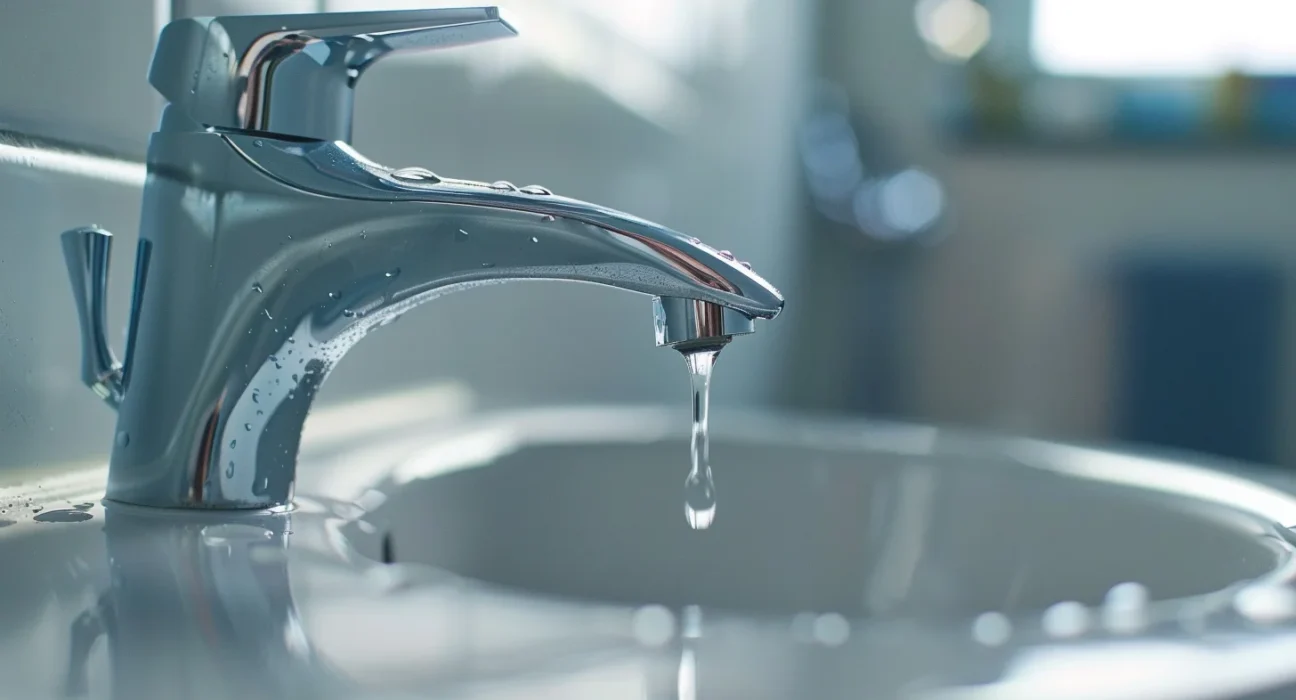
Find Out Where the Leak Is Coming From
Before you take anything apart, watch the faucet for a minute. Where the water appears tells you which part has failed — and saves you from replacing the wrong thing.
| What you notice | Most likely cause | The fix |
|---|---|---|
| Drips from the spout when handles are off | Worn washer or faulty cartridge | Replace washer / cartridge |
| Water pools around the base of the faucet | Corroded valve seat or bad O-ring | Clean valve seat / replace O-ring |
| Leak near the handle | Damaged O-ring on the stem | Replace the O-ring |
| Drip continues after shutting the handle | Worn internal seal or cartridge | Replace cartridge / disc set |
| Low water pressure plus dripping | Mineral build-up blocking the valve | Clean with vinegar, then reseal |
Know Your Faucet Type (the Repair Depends on It)
The four common faucet designs leak for slightly different reasons, so identifying yours tells you what to inspect:
- Compression faucet (two separate hot/cold handles): uses a rubber washer that wears down. The cheapest and most common fix — usually just a new washer.
- Cartridge faucet (single or double handle, smooth movement): a plastic/brass cartridge controls flow and temperature. If it’s cracked or worn, replace the whole cartridge.
- Ball faucet (single handle, rounded cap that rotates in all directions): uses a ball, springs and seals that degrade. A ball-faucet repair kit replaces all of them at once.
- Ceramic disc faucet (single lever, modern, very durable): two ceramic discs form the seal. They rarely fail, but a cracked disc or mineral build-up means replacing the disc cartridge.
Tip: Take a clear photo of your faucet (and the old part once it’s out) before buying a replacement. Bring it to the hardware store — faucet parts are not universal, and matching the exact size and brand is what makes the repair actually work.
Tools and Materials You’ll Need
| Tool / Material | Purpose |
|---|---|
| Adjustable wrench | Loosen and tighten faucet connections |
| Screwdriver set (flathead + Phillips) | Remove handle screws and decorative caps |
| Plumber’s tape (PTFE) | Seal threaded connections so they don’t leak |
| Replacement washer, O-ring or cartridge | Restore the faucet’s seal |
| White vinegar | Dissolve hard-water mineral deposits |
| Clean cloth / old towel | Wipe parts and protect the sink |
If you’re not sure which wrench or screwdriver fits your model, see our guide on the best tools to remove a bathroom faucet.
How to Fix the Leak
1- Turn off the water supply:
Find the two shut-off valves under the sink and turn them clockwise until they stop. Then open the faucet to release any water still in the line. If there are no valves under the sink, shut off the main water supply to the house.
2- Plug the drain:
Push in the sink stopper or stuff a rag into the drain. This stops small screws and parts from disappearing down the pipe.
3- Remove the handle:
Pop off the decorative cap on top of the handle with a flathead screwdriver. Underneath is a screw — remove it, then lift the handle straight up to expose the inner parts. For a deeper walk-through, see how to change a faucet washer.
4- Inspect and replace the worn part:
- Compression faucet: unscrew the stem, check the washer at the bottom for flattening, cracks or splits, and fit an identical replacement.
- Cartridge / ceramic disc faucet: pull out the cartridge or disc set with pliers and swap in the matching new one.
- Ball faucet: use the repair kit to replace the springs, seals and ball together.
- While you’re in there, check the small rubber O-rings on the stem and replace any that look cracked or stretched.
5- Clean the valve seat:
Soak the cloth in white vinegar and wipe the valve seat (where the spout meets the faucet body) to remove mineral build-up. A smooth, clean seat is essential for a watertight seal — and skipping this is why many DIY repairs start dripping again within weeks.
6- Reassemble the faucet:
Wrap a little plumber’s tape around any threaded connections, then put the faucet back together in the reverse order you took it apart. Hand-tighten first, then snug it with the wrench — don’t overtighten, as that cracks seals and washers.
7- Turn the water back on and test:
Slowly reopen the shut-off valves and run the faucet. Turn it fully on and off a few times and watch the spout, base and handle. No drip means the repair worked.
How to Stop It From Leaking Again
- Don’t crank handles shut with force — gentle pressure preserves the washer and seals.
- If you have hard water, descale the faucet with vinegar every few months to prevent mineral build-up.
- Replace washers and O-rings as a set every couple of years on older compression faucets, before they fail.
Frequently Asked Questions
How do I fix a leaky bathroom faucet?
Turn off the water supply, remove the handle, and inspect the washer, O-ring, or cartridge. Replace whichever part is worn, clean the valve seat to remove mineral build-up, then reassemble and test the faucet. For most faucets the drip is caused by a single worn washer or cartridge.
Why is my bathroom faucet still dripping after I turn off the water?
A drip that continues after you shut the handle usually means the internal seal isn’t closing fully — most often a worn washer, a damaged O-ring, a faulty cartridge, or mineral build-up on the valve seat preventing a tight seal.
How much does it cost to fix a dripping faucet?
Doing it yourself costs roughly $2–$25 for the replacement washer, O-ring, or cartridge. Hiring a plumber typically costs $125–$350 depending on your location and the faucet type.
Can I fix a leaking faucet without replacing the whole thing?
The vast majority of leaks are solved by replacing one inexpensive internal part — a washer, O-ring, or cartridge — not the entire faucet. You only need a full replacement if the faucet body itself is cracked or severely corroded.
Which bathroom faucet washer do I need?
Faucet washers are not universal. Remove the old washer first and match it by exact size, or take it (and a photo of your faucet) to the hardware store to find the correct replacement.